How to Perfect Your Baking Bread Skills at Home?
Baking bread at home can be both an art and a science. Renowned baker Peter Reinhart once said, “Bread is a living thing.” This quote highlights the essence of baking bread—it requires patience and understanding.
Many home bakers face challenges. Flour can behave differently depending on the humidity level. Kneading may not always result in the perfect dough. It's essential to observe how your ingredients react. Each loaf tells a story about your technique and environment. Baking bread is not just following a recipe; it’s about adapting and learning.
In the pursuit of perfecting your skills, remember that imperfection is part of the process. Sometimes, bread may not rise as expected, or you might end up with a dense texture. These experiences offer valuable lessons. The journey of baking bread at home is filled with surprises and opportunities for growth. Embrace the challenges, and soon you'll find yourself crafting delicious loaves with confidence.
Essential Equipment for Home Bread Baking
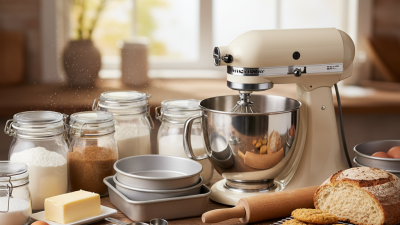
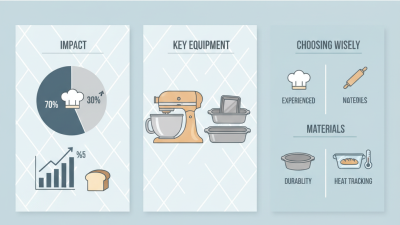
When you venture into baking bread at home, having the right equipment can make a significant difference. A reliable stand mixer helps combine ingredients more efficiently than mixing by hand. A banetton basket can shape your dough, creating a beautifully rounded loaf. Many home bakers appreciate using a digital kitchen scale for precise measurements. It’s essential for consistency in baking.
Consider investing in a good-quality baking stone or steel. These tools help retain heat better, mimicking the environment of professional ovens. You might also need a sharp bread knife for scoring dough. Scoring allows the bread to expand properly during baking. It’s fascinating how these small details can elevate your bread-making game.
However, not every bake will go perfectly. You may find your bread dense or overcooked at times. It’s vital to reflect on each attempt. Did you knead enough? Was the dough allowed to rise properly? Learning from these experiences is key. Embrace the imperfect loaves. They are part of your journey toward becoming a better baker.
Essential Equipment for Home Bread Baking
Understanding the Basic Ingredients for Bread
Bread baking is both an art and a science. To achieve great results, understanding the basic ingredients is essential. Flour, water, yeast, and salt are the key components. They work together to create structure and flavor. Flour provides the necessary gluten, which gives bread its chewy texture. Different types of flour can yield varying results.
Water is yet another critical ingredient. The quality and temperature of water affect the dough's hydration. Overly hot water can kill yeast, while cold water slows down fermentation. Yeast is the life force of the dough. Fresh yeast rises well, while expired yeast can lead to dense bread. Salt not only enhances flavor but also strengthens the dough. However, too much salt can inhibit yeast activity.
Many bakers overlook these details. The choice of flour may not seem significant, but it is crucial. Using all-purpose flour for a sourdough recipe may yield disappointing results. Similarly, adjusting the water temperature is often neglected, leading to unpredictable outcomes. Reflecting on these details is important for growth. Baking bread is a journey, marked by both successes and failures. Embrace the learning process and enjoy the experience.
Step-by-Step Process of Making Bread Dough
Baking bread at home can be a rewarding experience. It starts with understanding the process of making bread dough. Achieving the right texture is key. Ingredients like flour, water, yeast, and salt are fundamental. According to the American Bakers Association, the proper dough hydration level is crucial, usually between 60% to 75% for a good rise and crumb structure.
Kneading is where magic happens. You should work the dough until it’s smooth and elastic, typically around 8-10 minutes. This process strengthens gluten, which traps air and allows the dough to rise. You might notice your dough is sticky. That’s okay; it might need more flour, but adding too much can make it dense. Finding a balance is essential.
Tips: Always measure your ingredients accurately. Use a kitchen scale for best results. If your bread fails to rise, check your yeast's expiration date. A simple test is adding it to warm water with a pinch of sugar. If it bubbles, you're good to go. Remember, not every loaf will turn out perfect. Learn from each bake. Reflect on what worked and what didn’t. This will improve your skills over time.
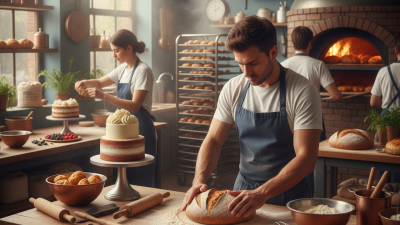
Techniques for Perfecting Bread Shaping and Proofing
Shaping and proofing bread can be challenging for many home bakers. According to a recent report by the American Baker's Association, over 60% of amateur bakers struggle with these techniques. Understanding the nuances of shaping is essential. Whether you aim for a round loaf or baguette, it's the tension on the dough's surface that defines the shape. Use your hands gently to create a taut skin without overworking the gluten structure.
Proofing is equally crucial. The ideal proofing time can vary depending on your kitchen's temperature. A study from the Institute of Bread Science indicates that a warmer environment accelerates yeast activity, but too much heat can lead to over-proofing. Aim for a controlled room temperature of around 75°F to 80°F. Observe your dough; it should double in size but remain slightly tacky to the touch.
Many bakers find themselves frustrated when their loaves collapse during baking. This often results from insufficient shaping or proofing. Reflecting on these mistakes can lead to improvement. By keeping a journal of your baking trials, you can identify patterns and adjust your methods. Learning from imperfections is part of the journey to become a skilled bread maker at home.
How to Perfect Your Baking Bread Skills at Home?
| Technique |
Description |
Tips |
| Kneading |
The process of working dough to develop gluten. |
Knead for at least 10 minutes for best results. |
| Shaping |
Forming the dough into its final shape. |
Use a bench scraper for clean edges. |
| Proofing |
Allowing the shaped dough to rise before baking. |
Keep dough in a warm, draft-free place. |
| Scoring |
Making slashes on the dough surface before baking. |
Use a sharp knife or razor for clean cuts. |
| Baking |
Cooking the bread in the oven at the right temperature. |
Preheat the oven and use a baking stone for better crust. |
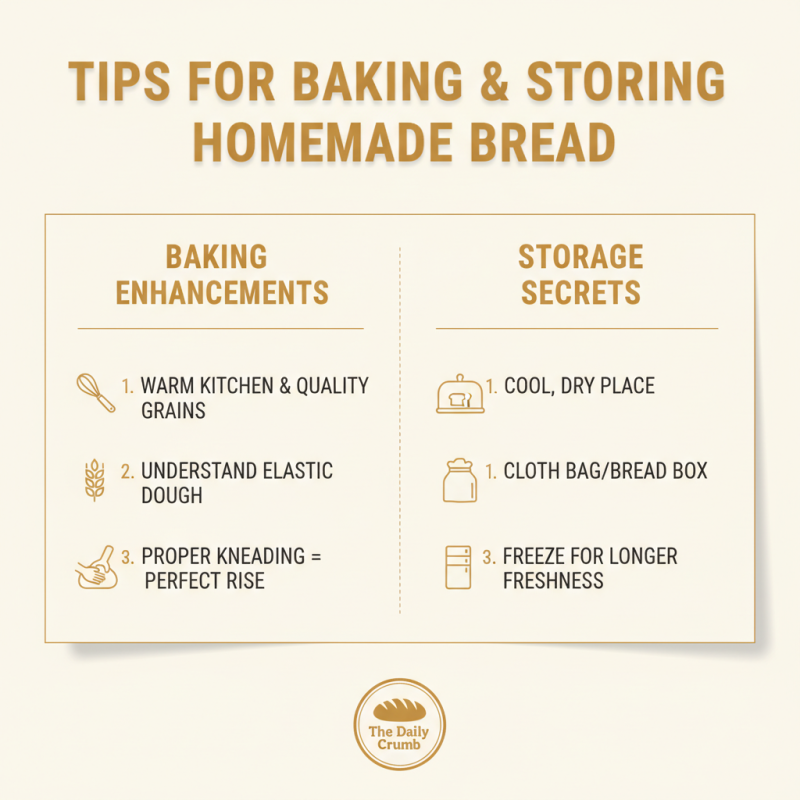
Tips for Baking and Storing Your Homemade Bread
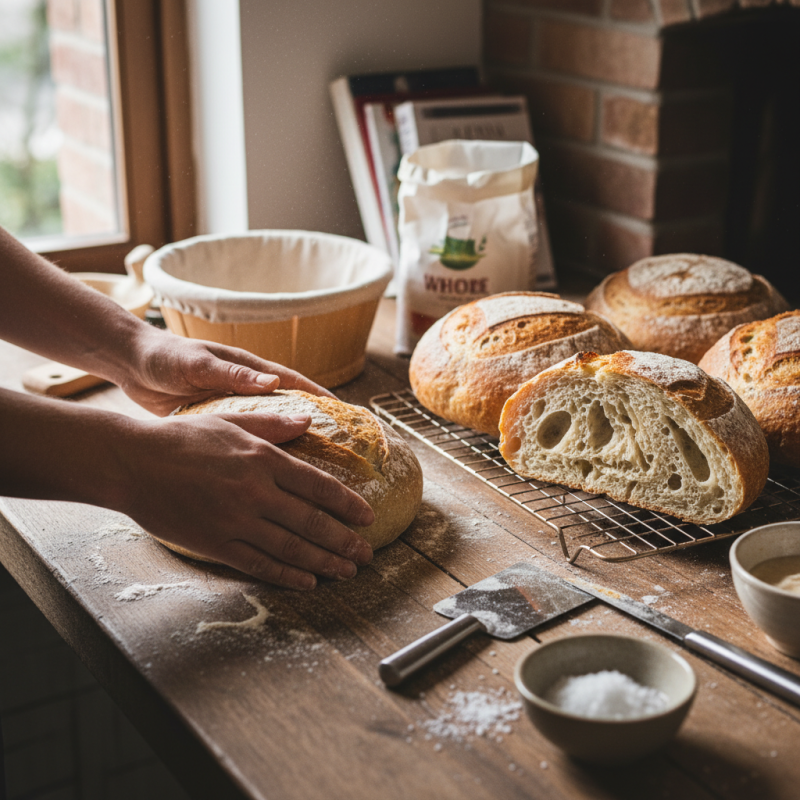
Baking bread at home is an art that requires both practice and patience. If you want to enhance your skills, focus on how you bake and store your bread. The warmth of your kitchen and the grains you choose can influence the final product. Understanding your dough is key. It should be soft and elastic, yet not too sticky. Kneading it properly helps develop gluten, which is essential for that perfect rise.
When it comes to storage, wrap your bread in a clean kitchen towel. This keeps it from drying out while allowing it to breathe. A bread box is a worthy investment; it balances humidity and air circulation. Avoid plastic bags as they can make the crust soggy. If you find your bread getting stale too quickly, consider freezing it. Slice the loaf before freezing. This way, you only need to take out what you plan to eat.
Remember, each loaf might not turn out perfect. Sometimes the crust is too hard, or the inside feels dense. Reflecting on what went wrong can help you improve. Experiment with different hydration levels or fermentation times. Each mistake is a learning opportunity, and with each loaf, you’ll get closer to mastering your baking skills.